I was having fun blowing bubbles with the kid on the balcony, the kid kept on wanting more and more bubbles and I was out of air – then it hit me – I got build a machine that will do it for me. When doing DIY projects I do my best to not buy and parts, but to reuse, or fabricate the parts I need. So with this in mind I started taking things out of the drawers. Today I would like to share how I built this bubble machine and code for it in this article.
DEMO VIDEO:
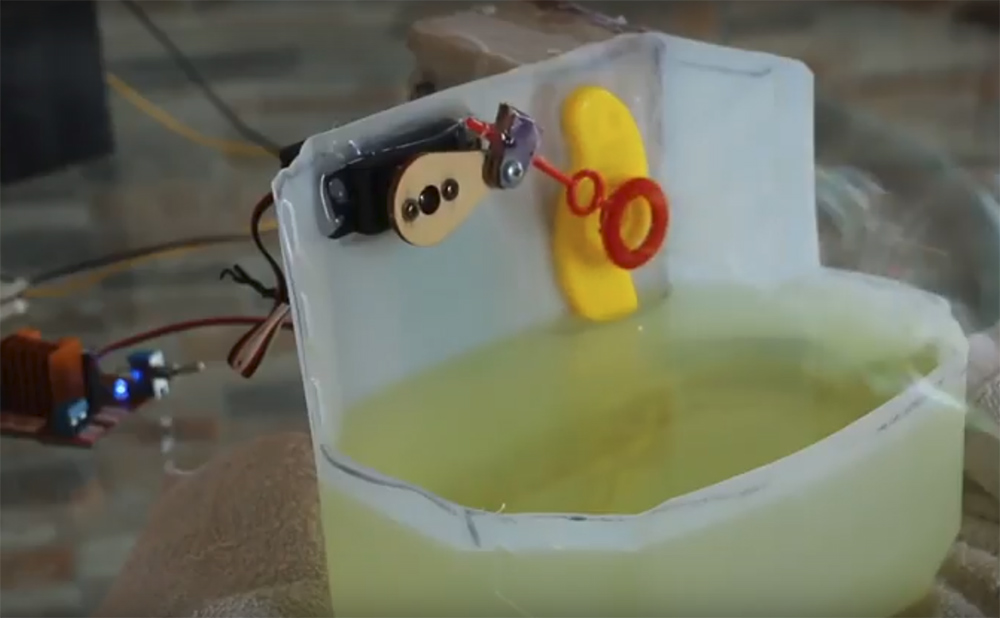
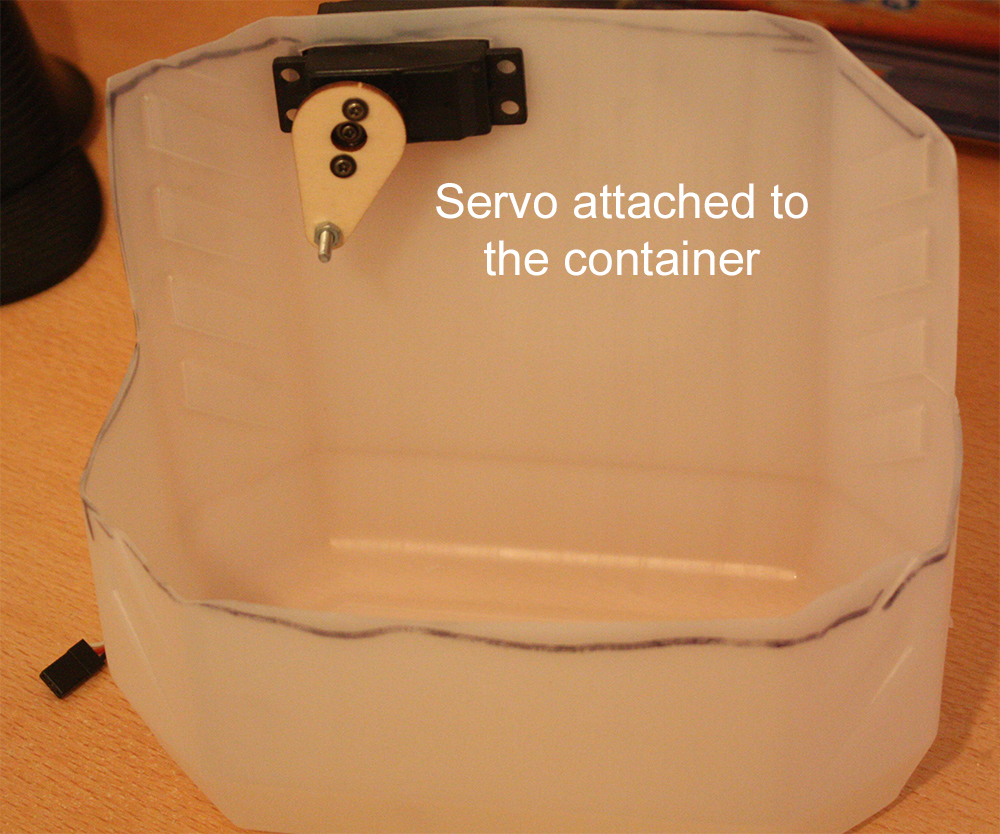
For this build I knew I needed a big container for the water, so I took a 5 litre water container. I cut the top part out, leaving a back to it so I can attach the servo to it. The servo and the dc motor I scraped out of a DIY RC car I had in my drawer. I took the dipping stick out of the kids game and last but not least I took an Arduino like board.
The board I took was also from that same RC car, and it’s called dagu, and the main reason I choose it was the fact that it has an on board H-Bridge to run the DC motor. My first step was the servo at the top part of the container, and then attach the dipstick on top of it.
Then I connected the board to the servo and ran some test, making sure the servo it doing only the movements I needed, going into the water and then sticking out parallel to the water, where the fan is located.
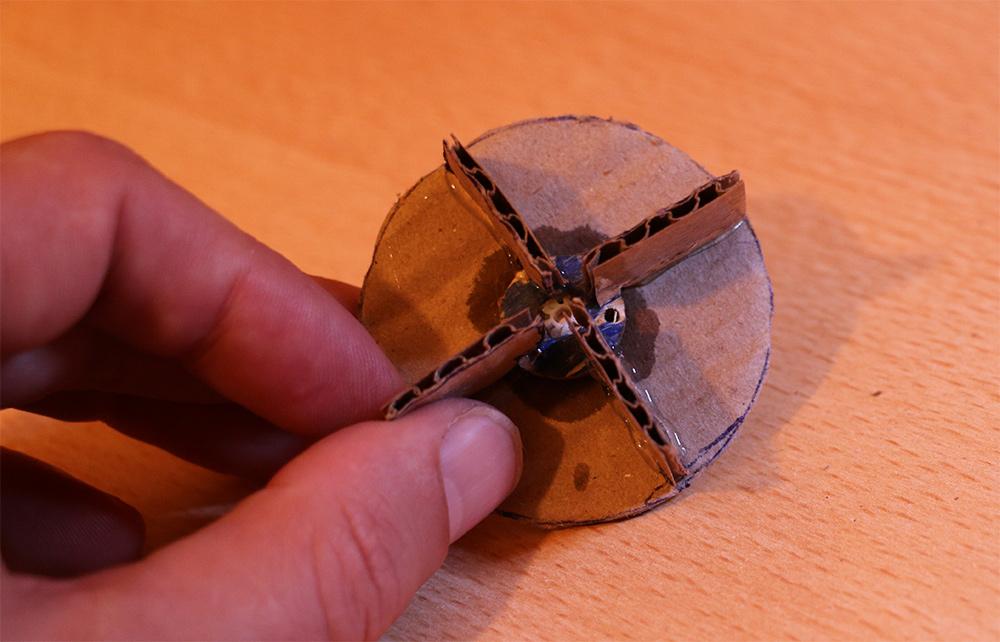
FAN MADE OUT OF CARDBOARD:
Once I got the servo doing its thing, I turned to creating a fan so I can push air to make bubbles. I had several attempts, I tried an old laptop fan, it semi worked, then the motor just died on me. So my next step was to create one myself, I took some cardboard, created a round disk and 4 “wings” glued them all together and placed the disk on top of the motor shaft, creating an enclosure around it. This setup was ok, but was done in a sloppy way and there for was not balanced and made a lot of noise. Few weeks after that, the machine got some water damage (left outside on the balcony in the rain) and I had to rebuild it.
For power I used a 12V battery I scraped out of a UPS, with a step down to 5V to meet the need of the board once I got it all in place, I went to make a code for it all. Note, my board did not had a USB port on it, and in order to upload code to it, I first used a SPI programmer, then later on I burned a bootloader on it and used an FTDI to upload the code, you can see all about it in this video.
CODE:
/*
Code by Tal Ofe - talofer99@hotmail.com

Made for the bubble machine

You can see it on YouTube - https://youtu.be/tMIEiQsoe-E
*/


// servo library
#include <Servo.h>
// define needed info for start and end point of servo
#define STARTPOS 100
#define ENDPOS 35
// define motor pinout
#define MOTORDIR 8
#define MOTORPWM 10
// Define motor pwm – I use full speed, since I was only suppling 5V.
// Running it at a value lower speed made the motor either jotter or not move at all.
#define MOTORDESIREPWM 255

Servo myservo;  // create servo object to control a servo


int pos = STARTPOS;    // variable to store the servo position

void setup() {
  //define pinout
  pinMode(MOTORDIR, OUTPUT);
  digitalWrite(MOTORDIR, LOW);
  pinMode(MOTORPWM, OUTPUT);
  digitalWrite(MOTORPWM, LOW);

  //servo
  myservo.attach(2);  // attaches the servo on pin 2 to the servo object
  myservo.write(pos);              // tell servo to go to position in variable 'pos'
  delay(15);
}

void loop() {


  // move the servo up
  for (pos = STARTPOS; pos >= ENDPOS; pos -= 1) {
    myservo.write(pos);
    delay(15);
  } //end for

  // start the fan motor
  setMotorPwm(MOTORDESIREPWM);

  // delay
  delay(1500);
  // set motor 0
  setMotorPwm(0);
  //delay
  delay(250);
  // move servo down
  for (pos = ENDPOS; pos <= STARTPOS; pos += 1) {
    // in steps of 1 degree
    myservo.write(pos);
    delay(15);
  } //end for
  // delay
  delay(250);

} //end loop


void setMotorPwm(byte pwm) {
  analogWrite(MOTORPWM, pwm);
} //end void
Hope this tutorial will help you build one, if you do let me know in the comments. If you have any questions, comments or feedback let me know in the comments section below. I will make sure to look at it and address them. Happy making 🙂