Repairing electronics has become a rare practice. We all have developed the habit of chucking out old faulty electronics and get a new one. But the truth is repairing the fault in electronics is a cost effective option than getting a new gadget. Besides repairing faulty electronics reduces E-waste which in turn will create a positive impact in our environment. This guide will show methods to replace your faulty USB connectors by yourself by using some basic workbench tools.
REPLACING USB CHARGE CONNECTOR:
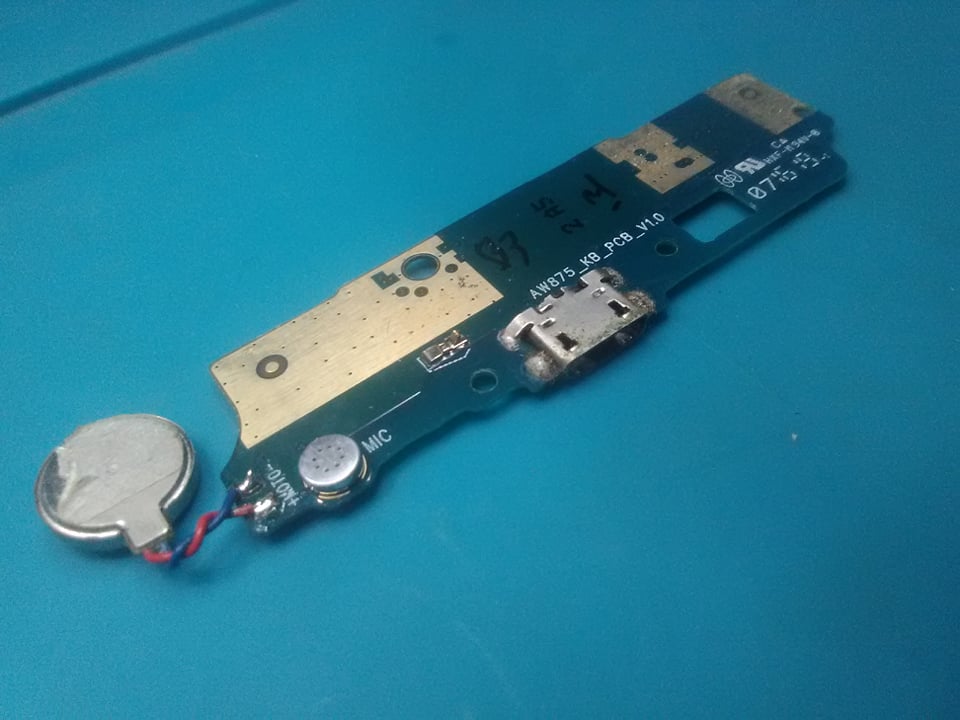
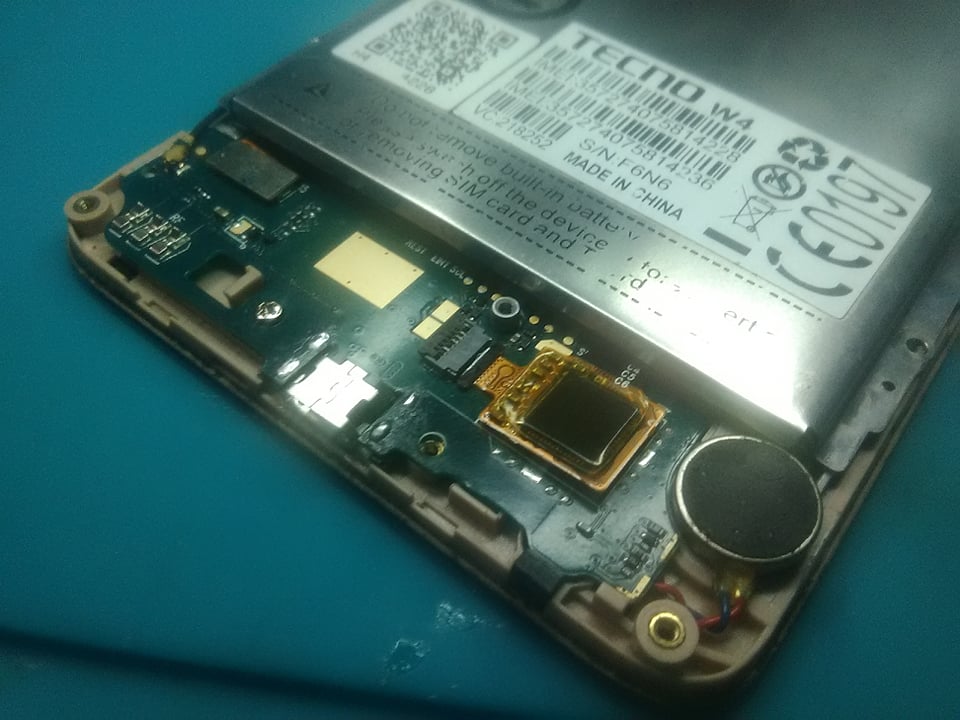
First disassemble the gadget and go to the charge connector area. In this case it’s located at the bottom.
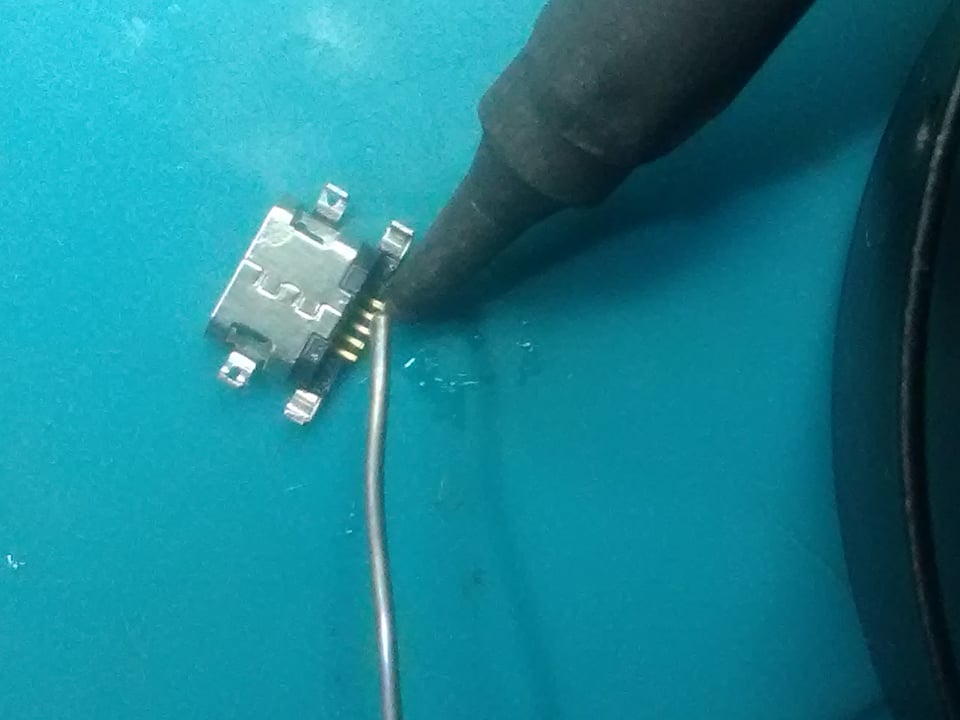
2. We start applying some flux on the pads and anchors legs
3. Apply some low melt solder on the pads and anchors if you have (optional). It helps lower the board exposition to heat.
4. Next, turn on the hot air setting the temp at about 320°C and air flow 1. Air flow should be set according to surrounding components. Apply the heat directly on charge connector and when you see the solder melting, take off the USB connector from the board with tweezers.
5. Also it’s safer to isolate the surrounding components with Kapton tapes which are heat resistant. Especially microphones. They do not withstand heat.
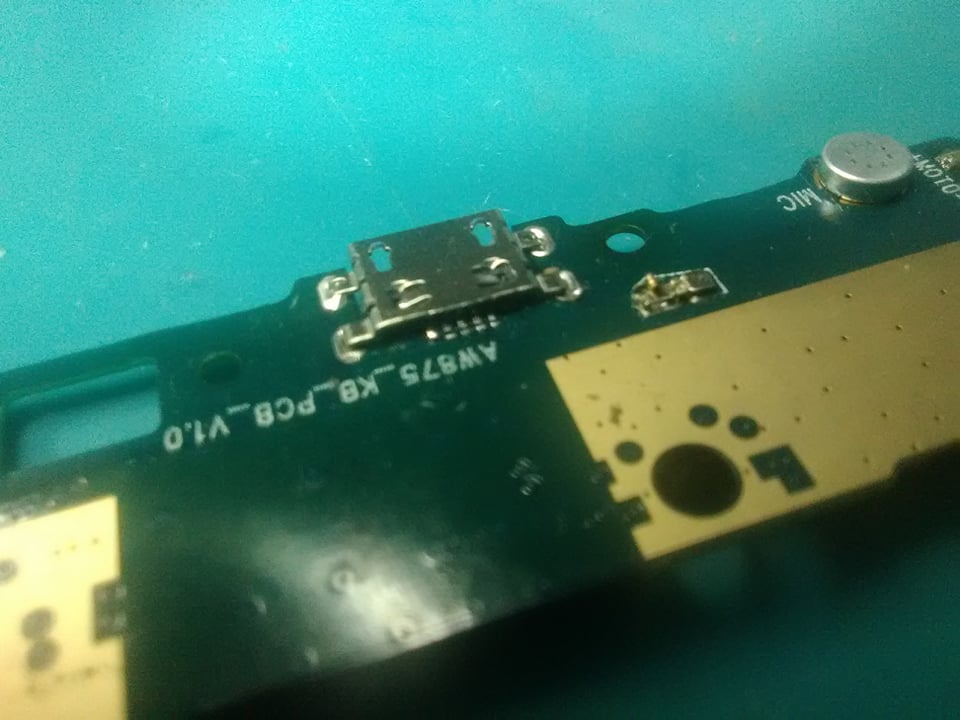
6. Next, clean the flux residue off the board with alcohol. Cotton swabs are helpful for that.
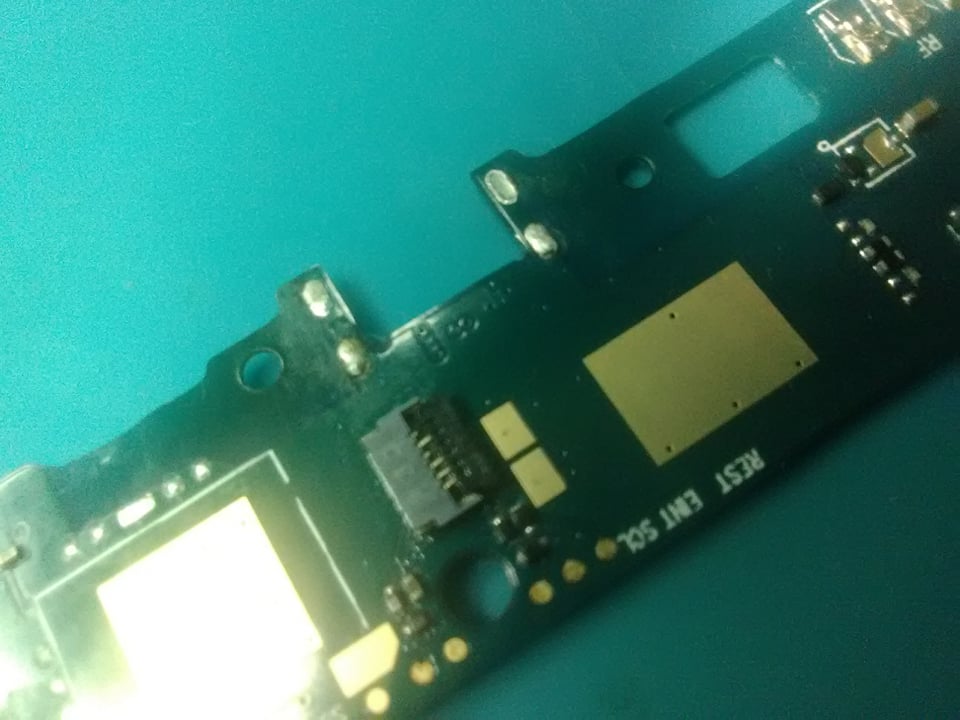
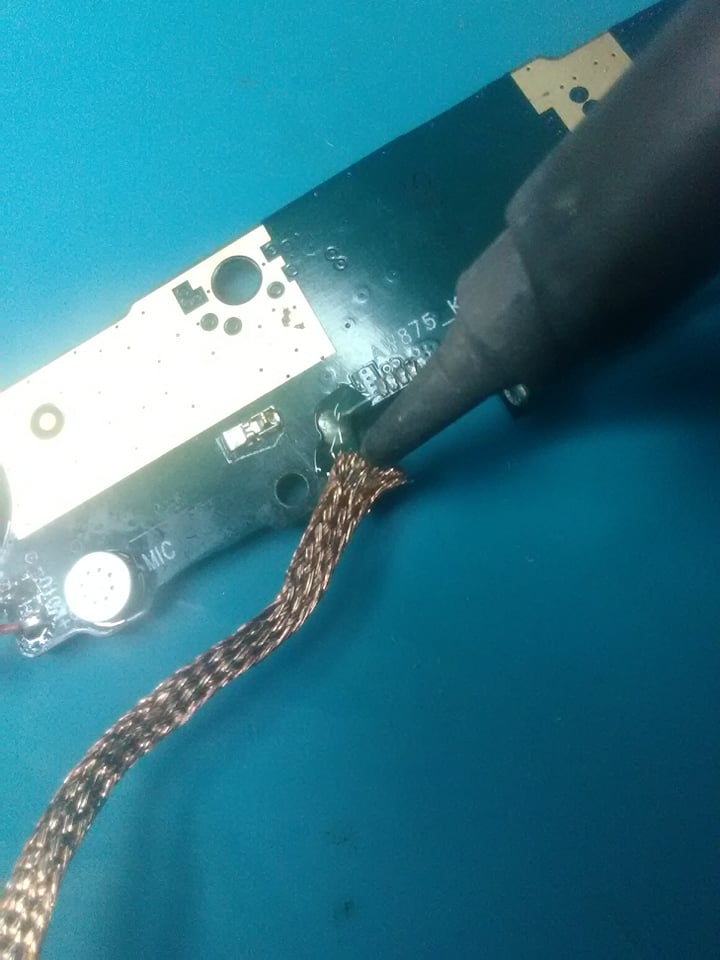
7. Next, apply some new flux and use solder wick to clean the pads and anchor holes. It will permit easy insertion of the new charge connector.
8. Next, find the right USB connector according to phone model or gadget. Once found, check if it fits perfectly.
9. Next, apply solder on the pads of the new connector. It’s optional but helps maker better solder joints.
10. Next insert the new charge connector and start soldering the pads, making sure they are completely flat on the board. Finish by soldering the anchors legs.
12. Assemble the gadget back.
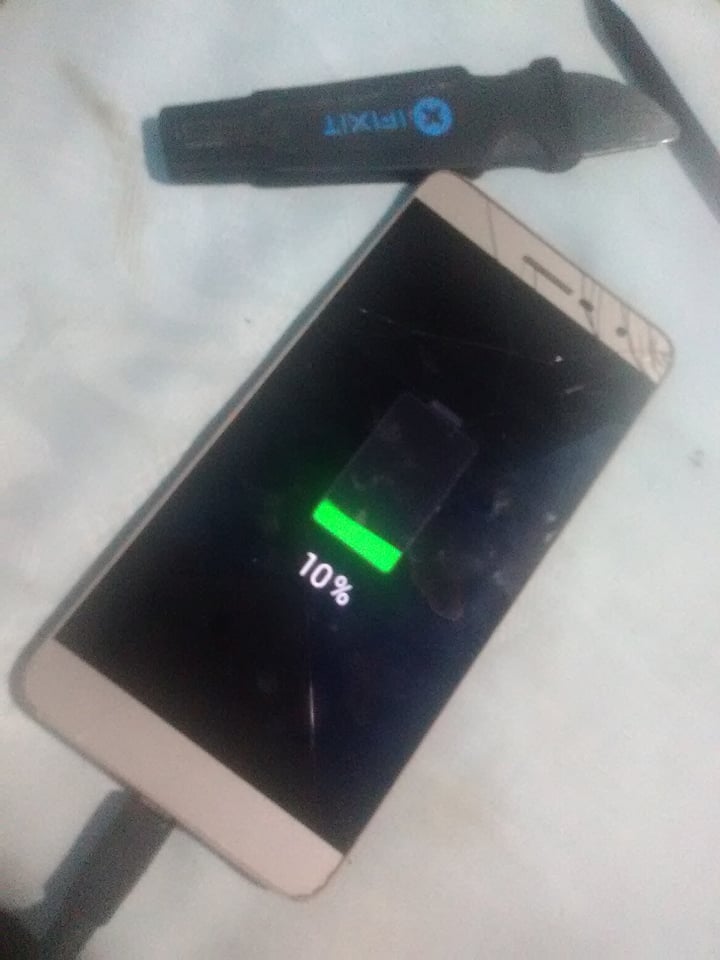
12. You can now plug a charger and if everything goes well, you should be done
The USB charge connector is successfully replaced. Learning these handy repairs have saved a lot of time and visit to local electronic repair shop. Adding to that I got to extend the usage life of my smartphone. If you have any queries, feedback please post them in the comment section below. I will be happy to answer your questions.

 2. We start applying some flux on the pads and anchors legs
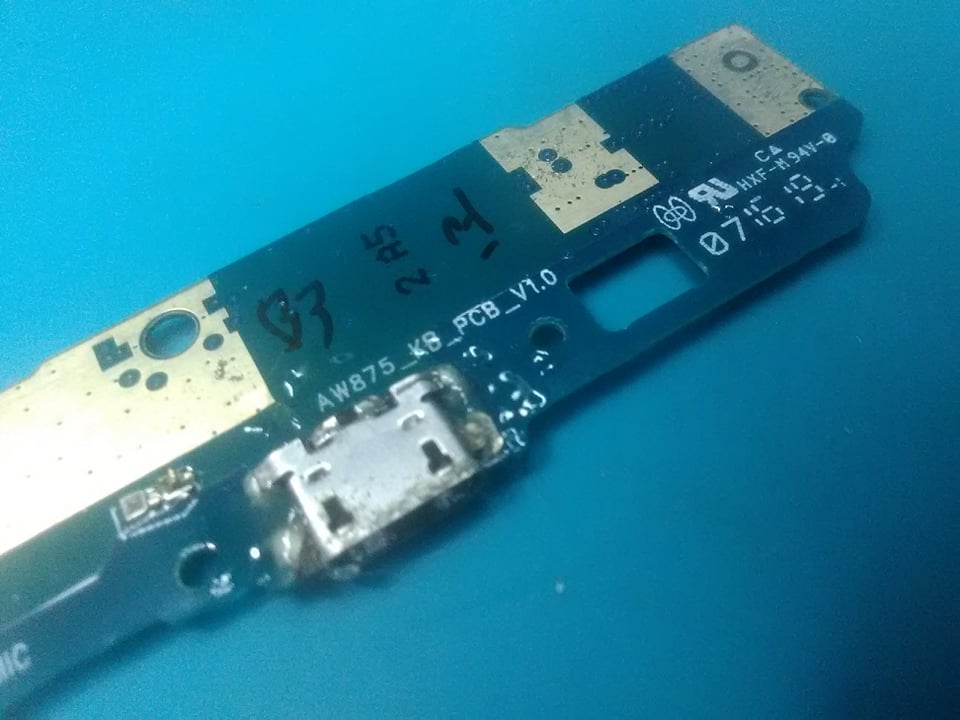 3. Apply some low melt solder on the pads and anchors if you have (optional). It helps lower the board exposition to heat.
 8. Next, find the right USB connector according to phone model or gadget. Once found, check if it fits perfectly.
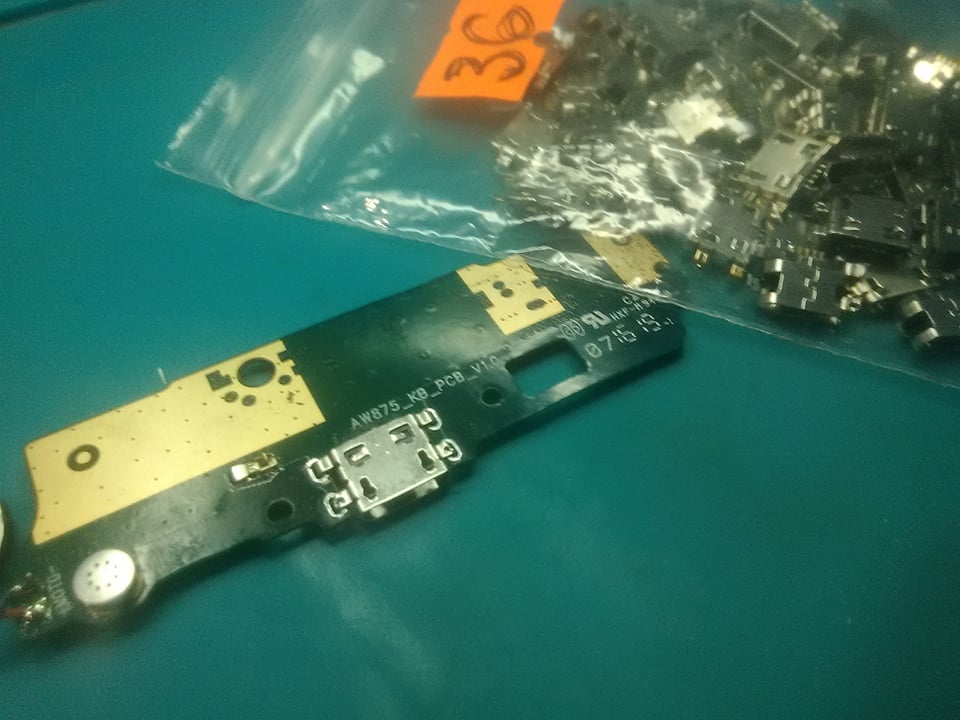
 The USB charge connector is successfully replaced. Learning these handy repairs have saved a lot of time and visit to local electronic repair shop. Adding to that I got to extend the usage life of my smartphone. If you have any queries, feedback please post them in the comment section below. I will be happy to answer your questions.


