Troubleshooting can take many forms to meet the needs of many different scenarios. While individual steps may vary, the most important steps in electronics troubleshooting are in preparation. This is a guide on getting ready to troubleshoot. This guide is for beginners who want to try out their hand in troubleshooting. A word of advice, develop good skills now, bad habits are hard to break.
SAFETY FIRST:
Stay Calm, safety is always first, and foremost. Whether its a multi million dollar switch-gear that has recently combusted, or a home computer that you desperately need to have running, it can be easy to get caught up in the emotions of a situation. There may be high pressure to get things running, or the consequences of malfunction maybe looming. Stay calm and focused on the task of fixing what ever has gone wrong.
IDENTIFY YOUR GOALS:
Sometimes Electronics troubleshooting is about just fixing whats wrong. Other times your goal might be to fix a large quantity of things, or to modify a thing to meet a given purpose. Knowing what you want out of a process will ensure your success, as you take future steps with a goal in mind.
PROCURE THE APPROPRIATE TOOLS AND WORKING CONDITIONS:
Make sure you have a quality light source to work by. Troubleshooting is all about observations, you need to create an environment where you can maximize the leverage of your senses, to make astute observations. A quite room with task lighting and lots of desk space is ideal. Working conditions may vary significantly. It may be loud and dark, where you are supposed to work, possibly overhead, on grating. In such an instance, you would Lock out, Tag out the system you are working on. You might then find some cardboard to create a work surface where you don’t have to worry about dropping parts. You might also try to find some drop lights, flashlights, or a head lamp.
Safety is paramount, absolutely always wear safety glasses. Gloves, fire rated clothing, hard hat, steel toe boots, hearing protection, fall protection may or may not be required. Whatever the case may be, work safe.
If you’re lucky, you’ll have all the tools you need, if you do not try to procure them. There is no point in trying to fix something, if simply trying to work on it breaks the system further trying to get into it. Look around what ever it is you’re going to be working on. Does it have security bits? is it metric or imperial sized tools? Do you have a place or means to keep all the screws or wires, or connectors organized? will you be able to reassemble the device after disassembling it? Ask yourselves these questions and if you are falling short of tools, get them before starting to troubleshoot.
CREATE A STRATEGY:
If you have just one thing to fix your strategy is probably pretty simple: fix this thing. Other times you may have a large quantity of similar things that need fixing, Perhaps grouping them by similar failures can reduce the amount of work you have to do. Perhaps fixing one item will help you repair another. On a large project, working on one sub-component at a time may be helpful.
GET ORGANIZED:
Make sure you can keep track of all the parts. It may be helpful to take pictures, or draw pictures, or take notes. If you have to break from working on this project and come back to it, make sure the parts are secure. Small parts containers are frequently helpful. You might like a sticky pad that you can set screws on in the order you remove them from a device. Whatever your method is, you just have to keep track of the parts, how they come apart, and how to get them back together.
A screw of the wrong dimensions could distort a plastic case, or sever. An electronic etch on a circuit board (Apple), stripping the heads can cause confusion, or lead to poor workmanship. Avoid all of that with organization as you disassemble things. You can create tags, or use a marker to mark cables and jumpers, to their respective locations. Leave yourself hints on how to reassemble things.
FIND THE DOCUMENTATION:
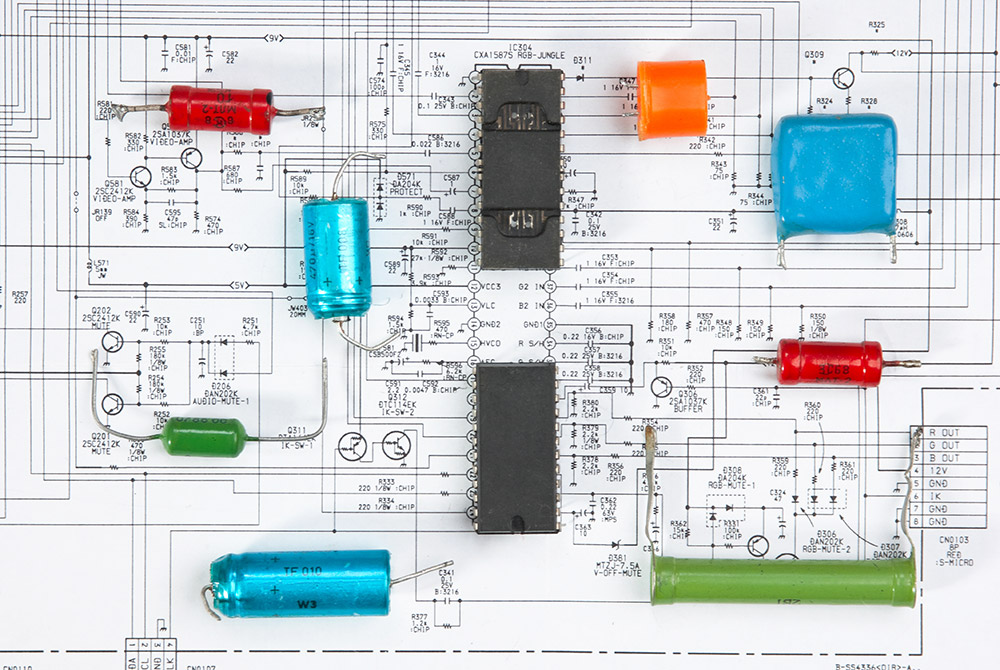
This is the wish list goal of all troubleshooters. Frequently documentation doesn’t exist, but its worth every second it takes looking for it. A users manual so you can test the thing when its finally working as you think it should? An electrical diagram? Or even component level datasheets can give you great insight into how and why a thing would have failed. The internet has many resources, try to utilize documentation as much as you can!
DOCUMENT THE PROCESS:
The realistic documentation experience is that you write all of it. Write documentation and take pictures. Write the documentation you wish you could have found before having to do it yourself. You might have to fix this thing again,or one of your co-workers may have to pick up where you left off. Document the symptoms of the failure, the condition of the device, weird smells or observations you make, like the lights dim when the thing turns on, or sounds it makes.
Your initial observations can help you figure out if you’re making progress later on. Take pictures, label things, write notes on the chassis if you think its appropriate. As you go you may find parts need replacement, make a detailed list of what needs replacement. You may note that there are physical signs of damage, bending, cuts scraps, signs of heat etc. Your job as a troubleshooter is to fix the problem, including preventing future problems.
For example: you may find an electronic device had components rated for 85 Celsius, but the ambient operating conditions are frequently around 100 Celsius. It might be a good idea to get replacement parts rated for higher heat levels.
PROCEED WITH CAUTION:
You should be relatively set to begin Electronics troubleshooting! As you gain experience you may develop an intuition about how things are made, how things work. Things that fail in certain ways, given certain conditions. You may make keen observations, with greater pre-potency, and speed. Don’t forget that other people may be coming along after you, and they need to understand the problems and solutions as well.
This guide is written is by Eric who has about 30 years of experience in Troubleshooting electronics. Hope this guide gave you a good idea on how to get started with troubleshooting electronics. Feel free to post your comments, feedback in the comment box below, we would love to hear your thoughts.




good read, thank you.
Thank you
very interesting, educational.
Thank you Jitendra
Nice one sir